Barcodes
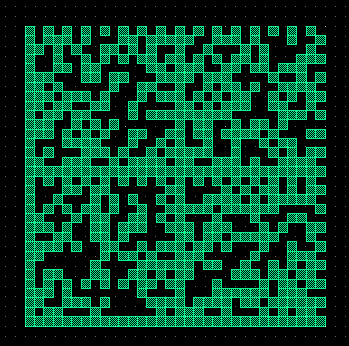 Barcodes are commonly used to label photomasks or devices. Creating them by hand is a hard job. Using the LayoutEditor for the automatic creation is very simple. Many different barcodes (1d and 2d codes) are already included. Any other barcode can be loaded very easily.
Supported Barcodes
Generation of these barcodes is already included in the LayoutEditor:
Select a desired barcode from the utilities menu to generate it. Please refer to the documentation section for details regarding each type of barcode. It is also possible to read one dimensional barcodes. Use a shift + left mouse click in order to read it along the display's horizontal line.
Using an external Barcode Generator
Many different barcode generators exists. Some are stand alone software programs, some others are web based with a browser interface. All of these generators produce as a resulting image. This image can be a JPEG file, a PNG Graphic or any other bitmap format existing. To use these graphics within the LayoutEditor the bars (or boxes/pixel in 2D codes) need to be painted and the rest must be transparent. Such a graphic format is often included in the bar code generator. However if it is not included, it is still not problem to use. You can pre-process the barcode graphic with any image software or post process it within the LayoutEditor. |
|
Pre-Processing the Image
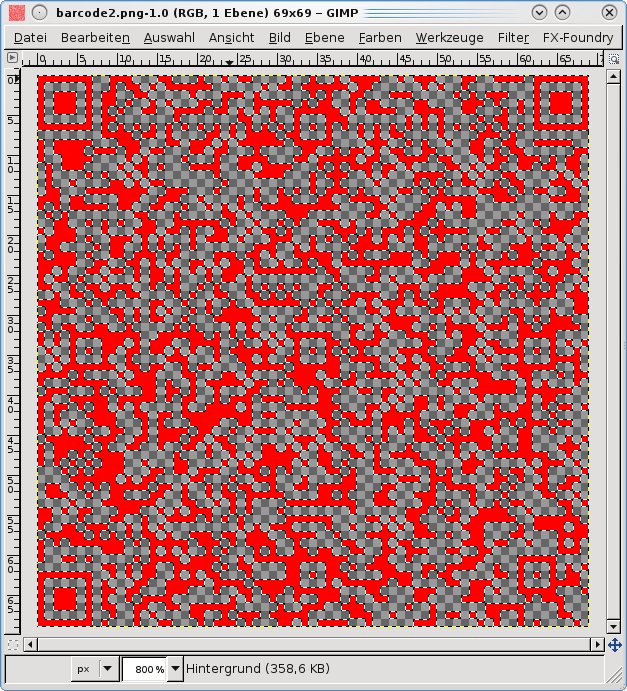
Optional, if the generated image has no transparency, you can add this with most imaging software. Here GIMP will be used. The steps are very basic: add an alpha-channel (layer add alpha-channel), select by color, cut selection, save the result. |
|
Loading into the LayoutEditor
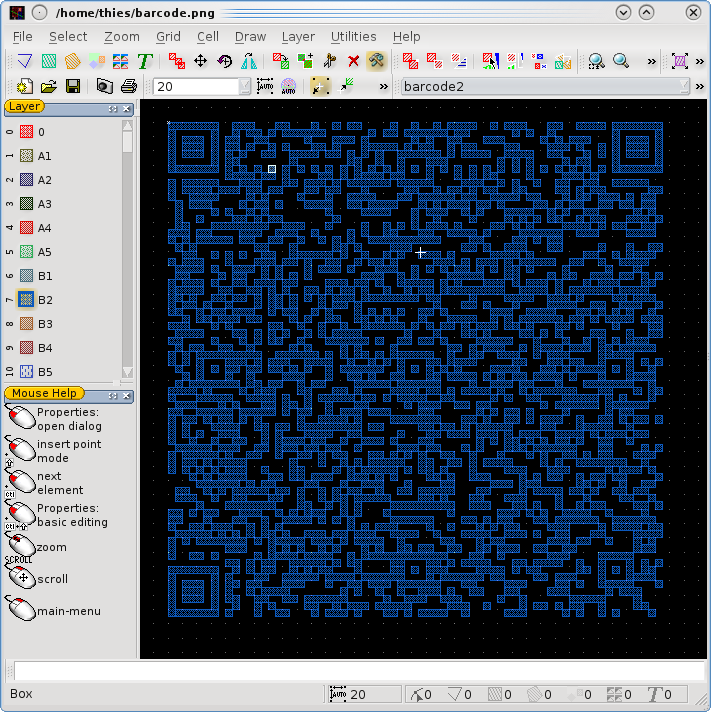
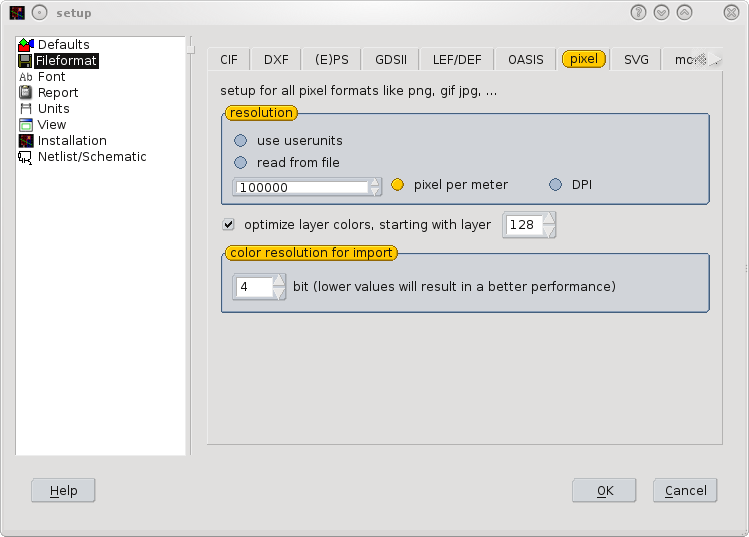
As the first step set the preferred scaling in the setup. At fileformat/pixel you can set the size a single pixel that the imported barcode bitmap should have. This will be the width of a single bar with you have generated the code with one pixel per bar. Afterwards you can attach the image via AttachFile. A new cell will be generated with the barcode. |
|
Post-Procssing within the LayoutEditor
The layer now can be selected for where the code will be placed. When choosing the target layer, use SelectAll and MoveToLayer so that the barcode will be transferred to the correct layer. If you haven't used an image with a transparent background, then two layers will be created after attaching the barcode. You will need to delete the unnecessary layer to get a correctly formatted barcode.
